Expert Tips for DIY Tiling: A Beginner's Journey to Perfection Jun 18, 2026
The journey begins with preparation, arguably the most crucial step in any tiling project. Before purchasing materials, assess the space you plan to tile. Measure the area carefully, ensuring accuracy to avoid shortages or excess tiles. Choose your tiles wisely; consider the style, durability, and slip resistance. Beginners often benefit from starting with larger tiles, which are easier to handle and install.
Once you've selected your tiles, gather essential tools such as a tile cutter, trowel, spacers, spirit level, and a mixing bucket. Having the right tools on hand can make a significant difference in the smooth execution of your project. It’s also wise to invest in quality materials to ensure durable, long-lasting results.
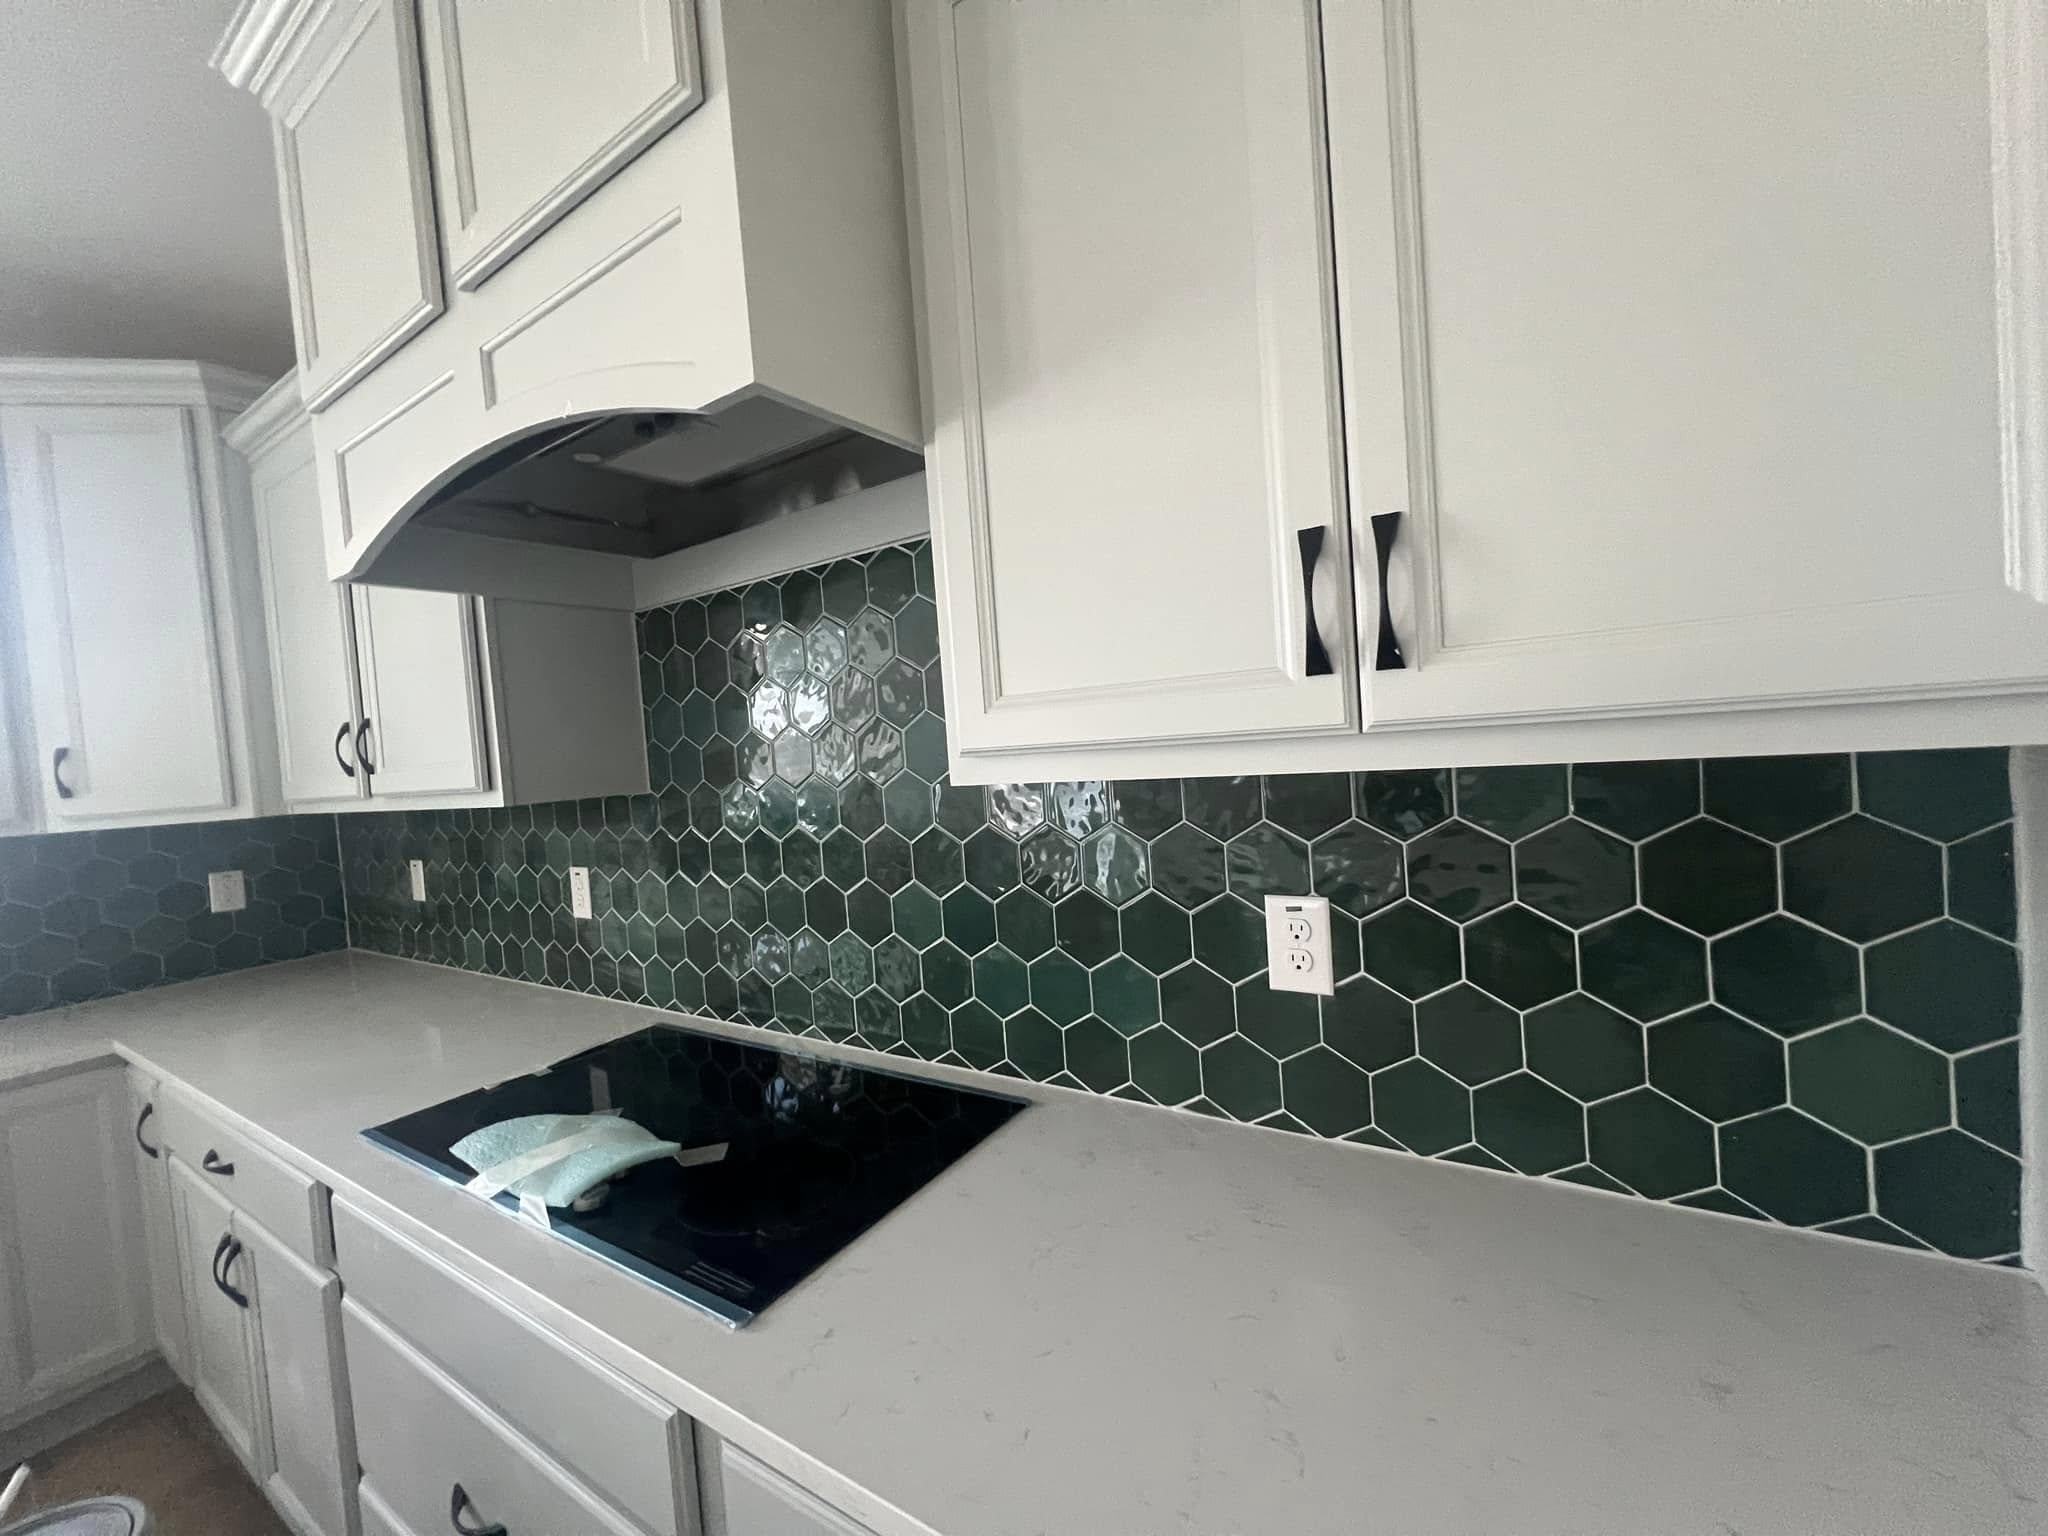
With preparation complete, focus on the layout. Planning the layout of your tiles beforehand can help you visualize the final outcome and ensure a balanced appearance. Use a layout guide to map out your design, starting from the center of the room and working outward. This method helps prevent small, awkward cuts at the edges of your space. Dry-laying tiles is a beneficial practice for beginners, as it provides a preview of the final configuration without the permanence of adhesive.
Now comes the adhesive application, a step where patience is key. Mix the adhesive according to the manufacturer's instructions, ensuring a consistent, lump-free paste. Apply the adhesive using a notched trowel, beginning at your layout's starting point. Work in small sections to maintain control over the adhesive drying time. Be consistent with the application thickness to ensure uniform tile heights.
When placing the tiles, use spacers to maintain even grout lines and ensure a polished finish. Continuously check the alignment with a spirit level, adjusting as necessary to achieve a perfectly flat surface. This stage requires precision, so take your time to place each tile carefully.
Grouting is the next step in your tiling journey. Allow the adhesive to cure before mixing and applying the grout. Use a rubber float to spread the grout diagonally across the tiles, filling the joints thoroughly. Wipe away excess grout with a damp sponge before it dries, then polish the tiles with a dry cloth for a pristine finish.
Finally, protect your hard work by sealing the grout once it has dried. A grout sealer will prevent moisture infiltration, stains, and mold growth, preserving the beauty of your tiles for years to come.
In conclusion, a successful DIY tiling project is indeed a journey from preparation to protection, requiring patience, precision, and practice. By following these expert tips from Novo Tile Co., you can confidently approach your tiling project and transform your space into something extraordinary. Remember, every expert was once a beginner. Happy tiling!
/filters:no_upscale()/filters:format(webp)/media/99be1374-23a8-4400-959b-335541d351d1.jpeg)